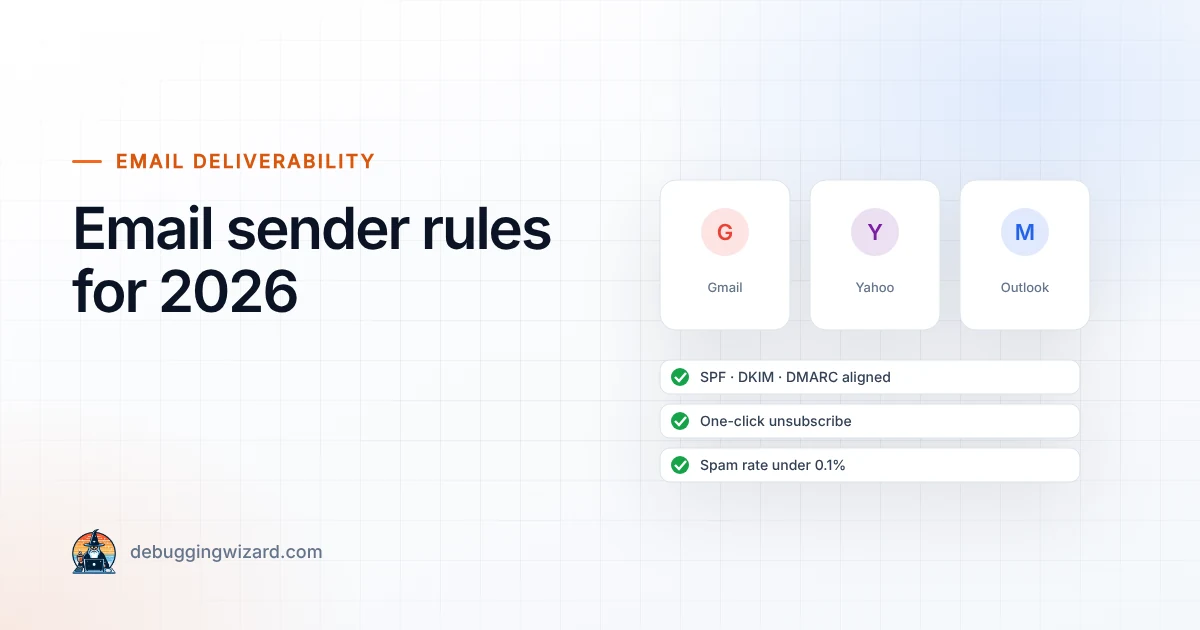
Email Sender Rules for 2026: What Gmail, Yahoo and Microsoft Now Require
Google, Yahoo and Microsoft now reject or junk email that is not properly authenticated. Here is what the rules require in plain English, plus…
Read article
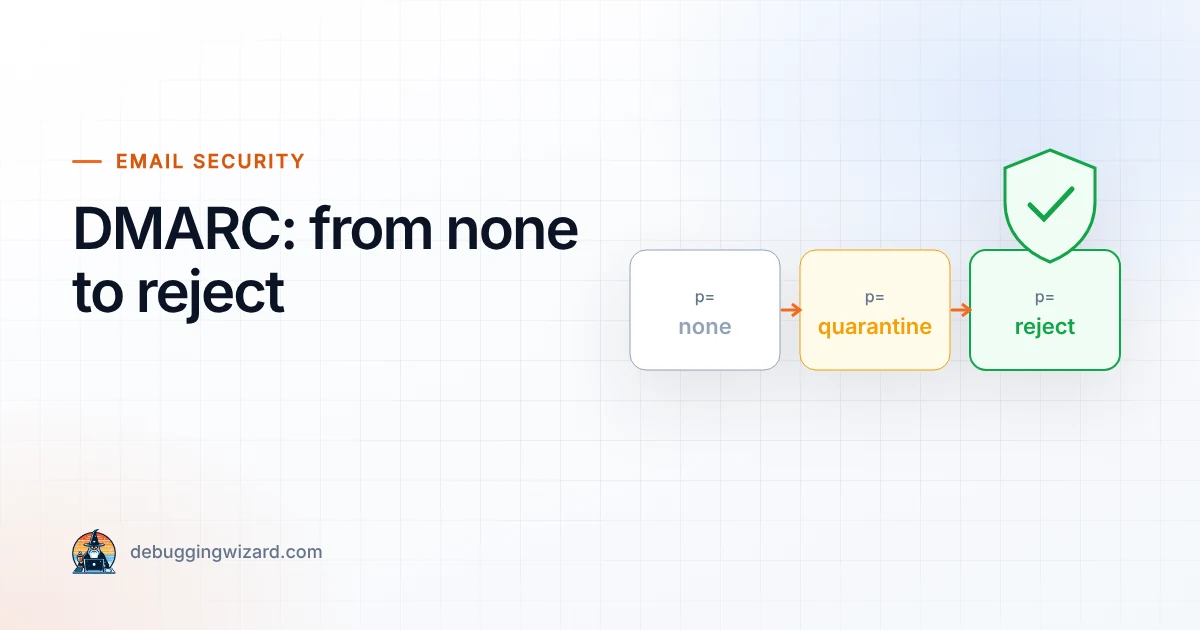
DMARC is the record that tells inbox providers what to do with email that pretends to come from your domain. Most businesses publish a DMARC record with p=none to satisfy Gmail and Microsoft, and then never touch it again. That is a missed opportunity: p=none only monitors. It does not stop anyone from sending phishing emails in your name.
In this guide we walk through the safe path from monitoring to full protection, without accidentally blocking your own invoices or newsletters.
A typical starting record looks like this:
_dmarc.yourcompany.com TXT "v=DMARC1; p=none; rua=mailto:dmarc@yourcompany.com"The rua address receives daily aggregate reports from Gmail, Microsoft, Yahoo and others, showing every server that sent mail using your domain.
DMARC reports arrive as XML files that are hard to read on their own, so use a free or low-cost DMARC report viewer. What you are looking for is simple: which services send email as your domain, and do they pass SPF or DKIM with alignment?
You will usually find a few surprises: an old newsletter tool, a website contact form, an invoicing system, a CRM, or a scheduling app that sends confirmations.
For each service you recognise and still use:
Anything you do not recognise is either a forgotten tool or someone spoofing you. Both are good to know.
Once your reports show that legitimate mail passes consistently, switch to quarantine. You can roll it out gradually with the pct tag:
v=DMARC1; p=quarantine; pct=25; rua=mailto:dmarc@yourcompany.comIncrease to 50 and then 100 over a couple of weeks while watching the reports. If a real service starts failing, you will see it before customers complain.
When quarantine at 100% has been stable for a few weeks, publish p=reject. From that point, anyone trying to send fake invoices or “urgent payment” emails from your domain is blocked at the door by every major mailbox provider.
Parked or unused domains are popular with spammers. Protect them with a strict policy and an empty SPF record:
yourotherdomain.com         TXT  "v=spf1 -all"
_dmarc.yourotherdomain.com TXT "v=DMARC1; p=reject"p=quarantine or p=reject policy is a prerequisite for BIMI, which can show your logo next to your emails in supporting inboxes.Want to see where your domain stands today? Run our free Email Deliverability Checker. If you would rather not deal with XML reports and DNS records, our support plans include a fully managed DMARC rollout. Talk to us.
Founder & Lead Engineer at Debugging Wizard. Writes about web development, email engineering and keeping business tech running smoothly.
Google, Yahoo and Microsoft now reject or junk email that is not properly authenticated. Here is what the rules require in plain English, plus…
Read articleINP measures how fast your site responds to clicks and taps, and it is a Core Web Vital. What causes poor scores and the fixes that work, including…
Read articleSince June 2025, many businesses selling online to EU consumers must have accessible websites. Who is covered, what “accessible” means and a…
Read articleTell us how things work today. We reply within one business day with ideas and a rough budget.